
Outline:
Mastering the process of upgrading your graphics card ranks among the top priorities for anyone involved in building computers. A key feature of PC gaming lies in its modularity; once your outdated graphics card begins to lag, you have the option to swap it out for a more efficient model.
best graphics cards
, substantially enhancing your setup.
Given this, there are several aspects to consider before upgrading your graphics card in your system. Specifically, you should be aware of
How to take out a video card
safely from your machine once you have learned
How to remove a graphics card driver
, all set for the replacement you’re installing. We’ll cover everything you need to know further down the page.
Tools & Requirements
- A desktop PC
- A new graphics card
- A Phillips #2 screwdriver
- An appropriate power supply unit (PSU)
- An internet connection
Here’s how you can easily upgrade your graphics card:
1. First, gather all necessary tools.
2. Switch off your computer and unplug it from power sources.
3. Open up the PC case.
4. Locate your current graphics card within the PCI-E slot.
5. Disconnect any cables attached to this card.
6. Unscrew and carefully remove the old card.
7. Install the new graphics card into an available PCI-E slot.
8. Securely screw the new card in place.
9. Connect relevant wires back as they were before.
10. Close the PC case and plug everything back in.
11. Power on your system and install drivers needed for the new hardware.
Remove your present graphics card driver
from the Device Manager
Turn off your PC
and
unplug it
from the wall outlet
Disconnect the PCIe power cables from your previous graphics card.
, raise the PCIe x16 lever, and gently take out the GPU from the slot.
Connect your new graphics card to the computer’s PCI Express x16 slot.
, secure the catch, and afterwards connect the PCIe cables.
Secure the new graphics card with screws.
to the bracket
Install your new graphics card’s drivers
from the appropriate website/source
Upgrading a graphics card: Step-by-step guide
1. Remove the drivers for your present graphics card.
Prior to upgrading your graphics card, you should uninstall the existing drivers to prevent them from causing problems with your new GPU.
The simplest method to achieve this is to head over to
Device Manager
, find ‘
Display adapters’
From the dropdown menu, and subsequently right-click to
‘uninstall device’,
This will clarify everything.
2. Take out your previous graphics card
Now that the old drivers have been removed,
turn off your computer
Either use the Start Menu or press the power button (if necessary) to turn it on. Ensure the computer is powered down, then unplug all cables at the rear (and also those on the top/front if required).
Take off your computer case’s side panel.
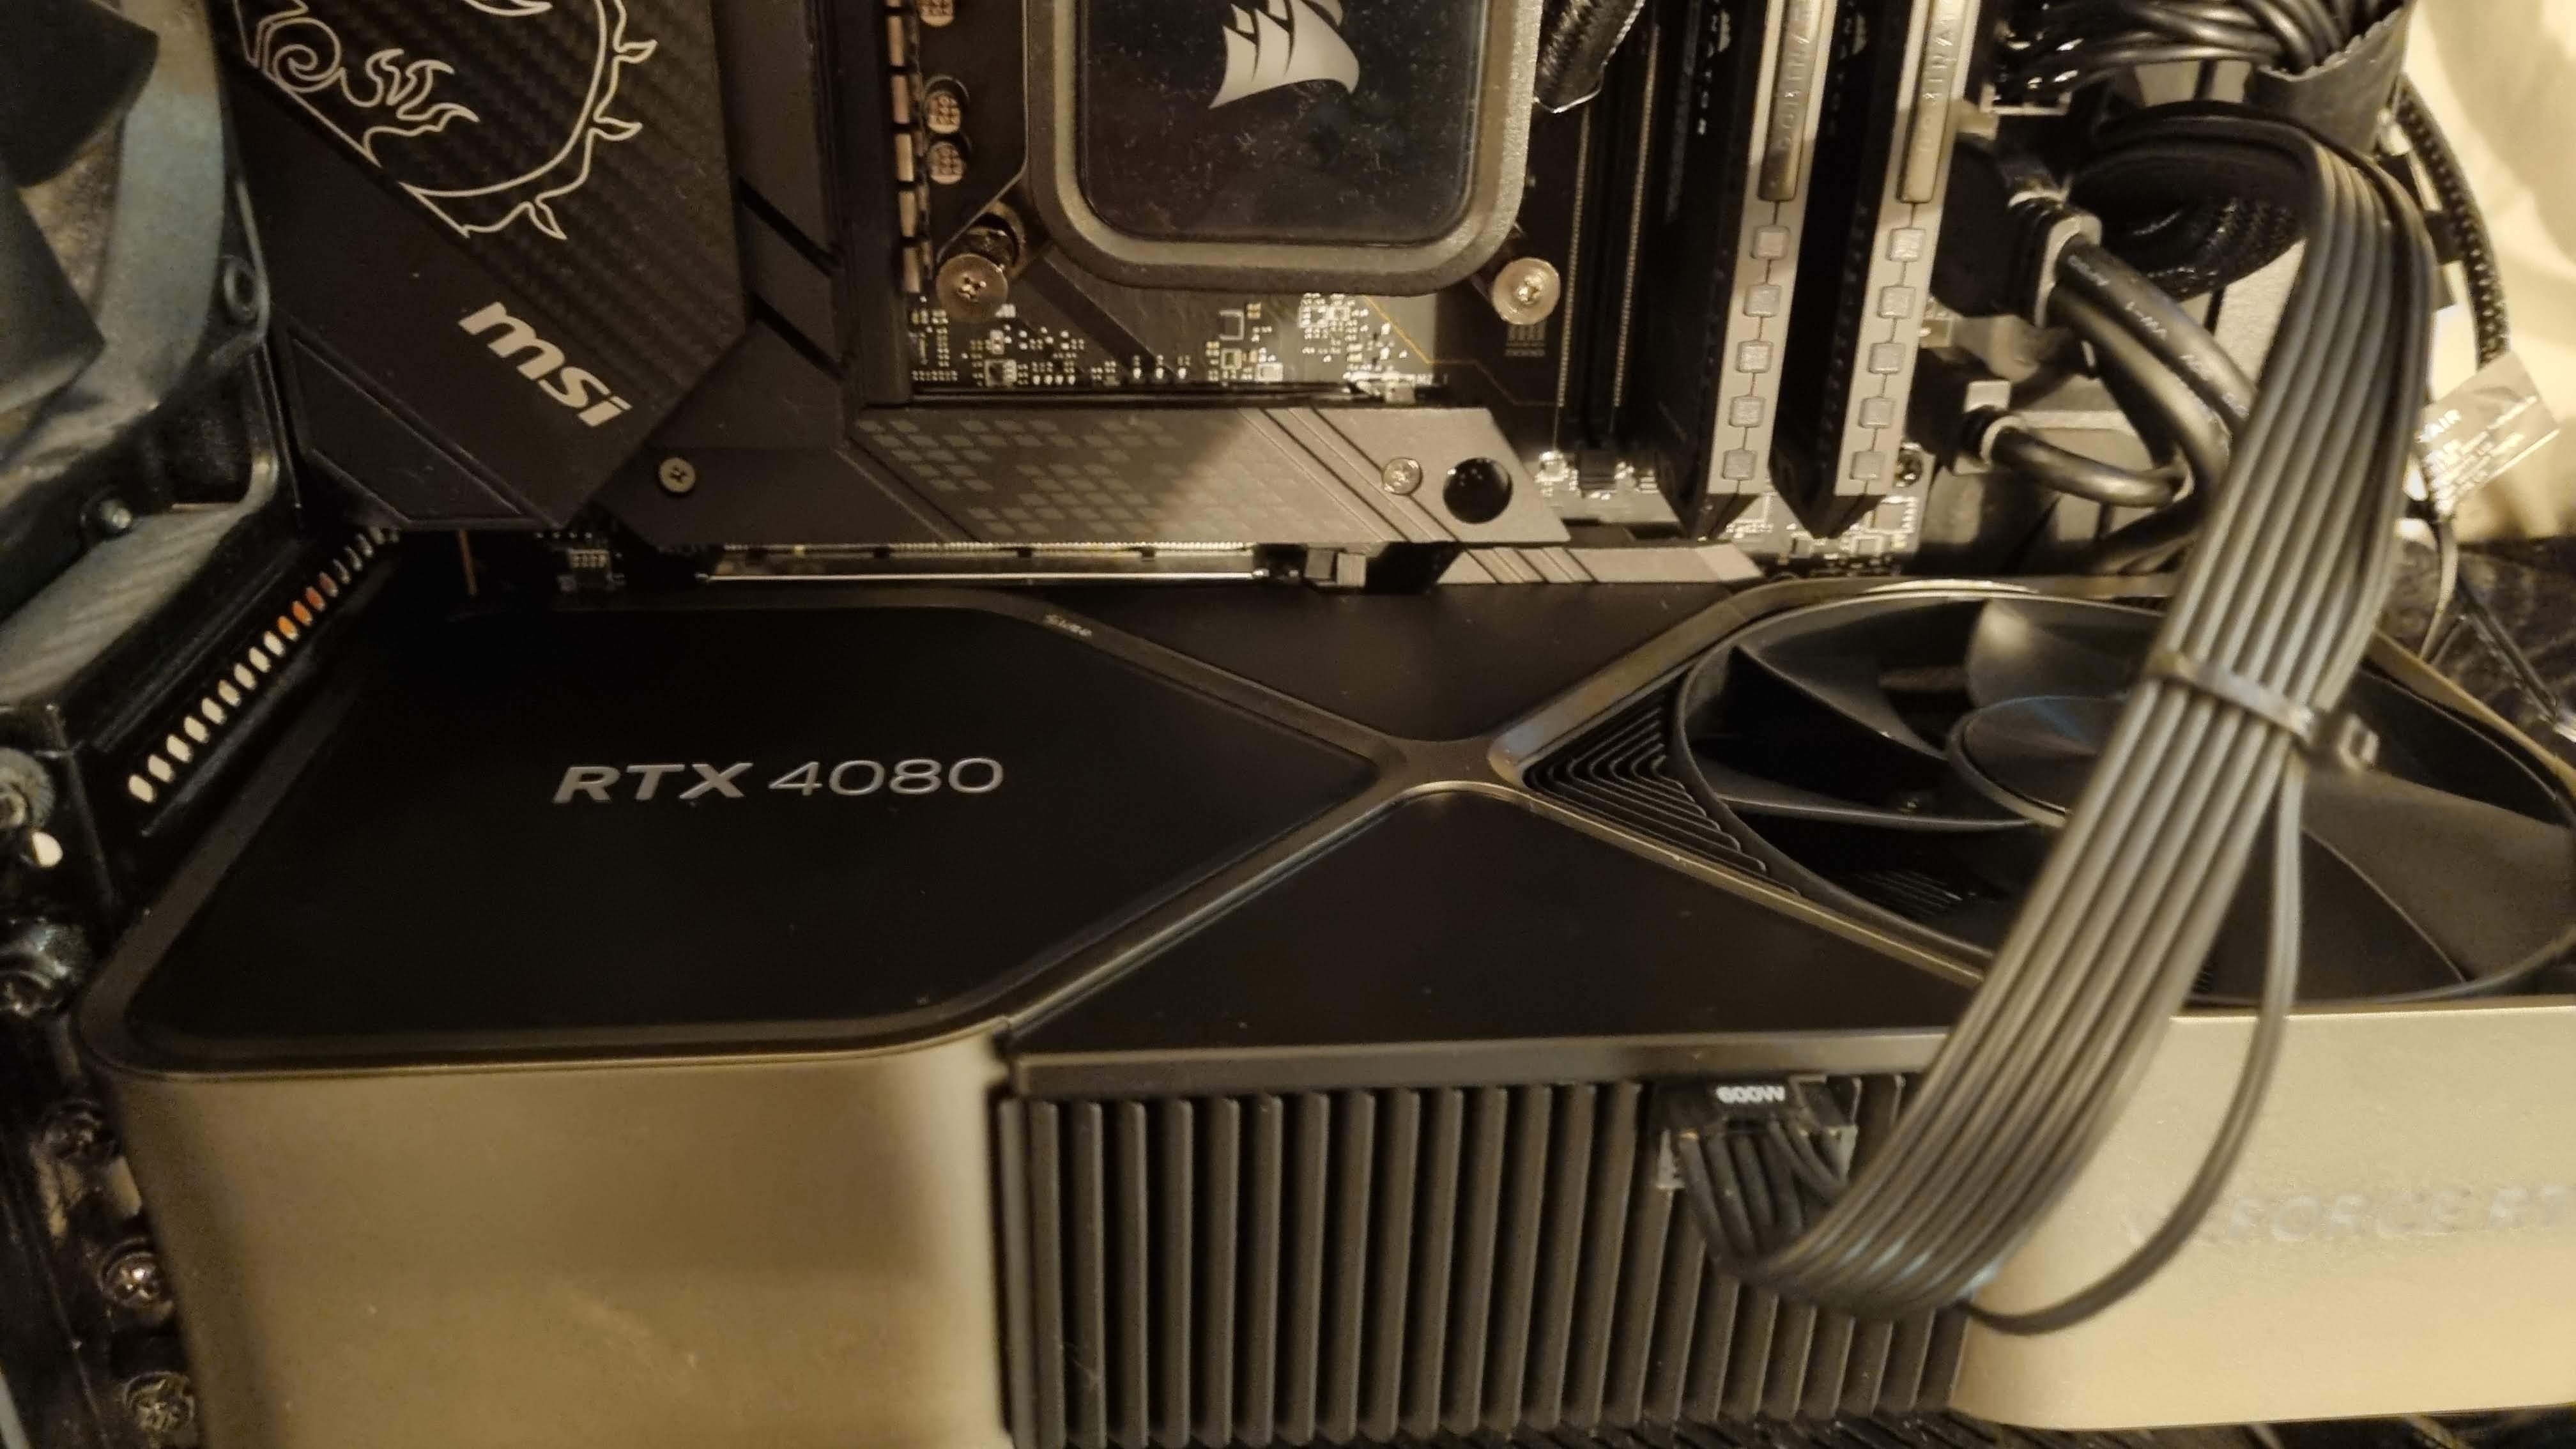
, and then carefully
unplug the PCIe connectors
If you’re using an AMD or Intel graphics card, it might feature one or two PCIe 8-pin connectors. For an Nvidia GPU, particularly from the RTX 30 series, you could find a 12-pin connector, though some models use a 16-pin connector instead. In either case with the newer pin configurations, adapters to convert up to four PCIe 8-pin connectors may be necessary.
Utilizing a Phillips #1 screwdriver,
unscrew the graphics card
From the rear PCIe slot at the back of the case, support the GPU with your hand to avoid sagging, and subsequently
remove it from the PCIe x16 slot
Using both hands, evenly balance the load. Place it aside and prepare for the subsequent GPU.
3. Inspect the power connectors of your PSU
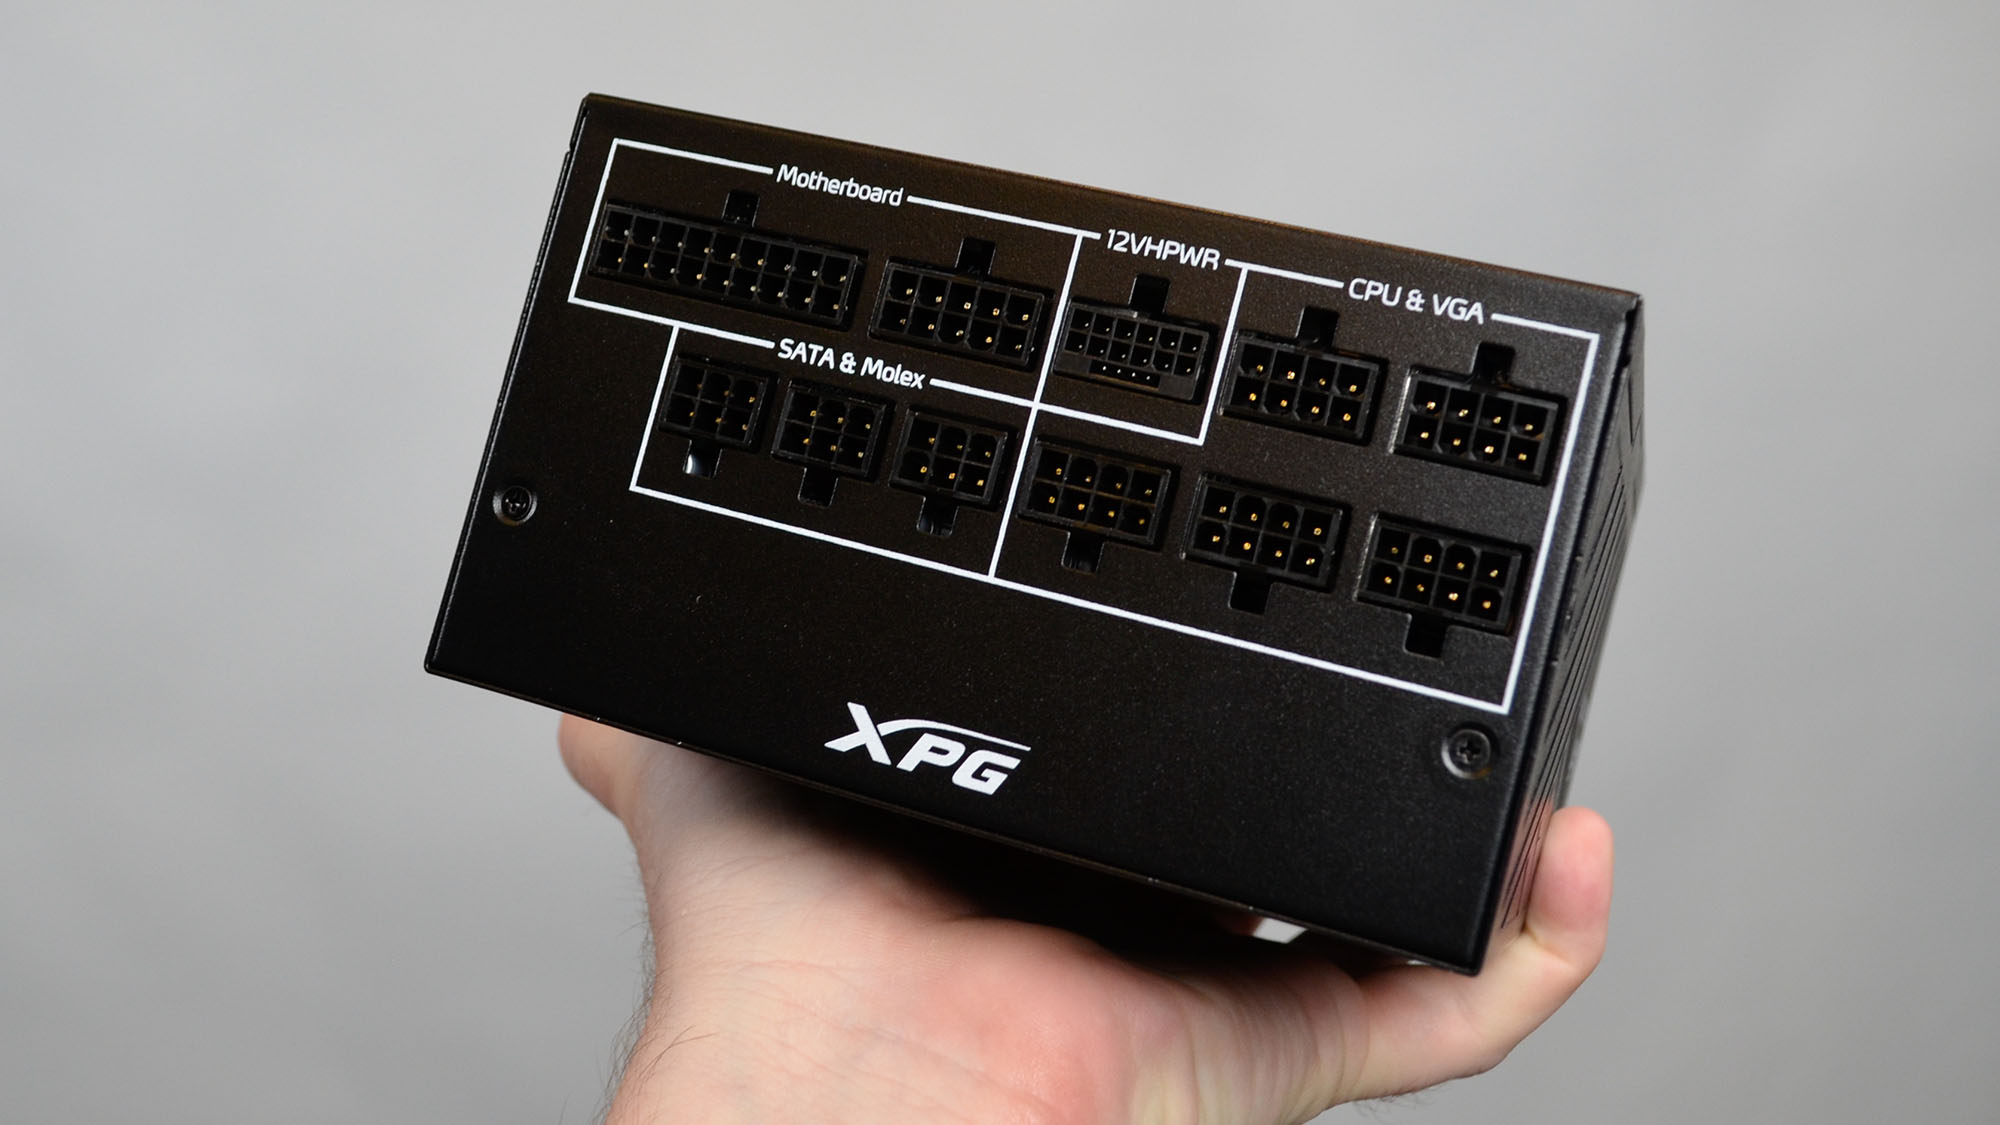
Based on the TDP (and connection type) of your new graphics card, you might need to connect an additional PCIe power cable (or even two) from your power supply unit.
If you’re moving up from a basic graphics card to a more advanced mid-range or high-end model, you might have to
upgrade your PSU
No doubt, you would have conducted thorough research on your new GPU’s Thermal Design Power (TDP) prior to purchasing, ensuring that you fulfill the power needs as long as you’ve connected an adequate number of power cables from the supply unit to the graphics card.
4. Fit your new graphics card
Stabilize yourself by making contact with the metallic portion of your computer’s casing, followed by
Insert your new graphics card into the motherboard’s PCI Express x16 slot.
, ensuring you have adequate clearance without obstructing any M.2 ports, getting entangled with cables, bumping into intake fans, and so forth.
After securing the new graphics card, hold onto it with one hand to stop it from drooping over the bracket, while using your free hand for alignment.
Attach the GPU into the rear bracket.
Once the weight of the graphics card is supported, secure it further using another screw if necessary. If your model includes an anti-sag bracket—like one designed for triple-slot GPUs—make certain to install it.
Should it be an Intel or AMD graphics card,
connect the single to triple PCIe power cables straight to the graphics card
. For newer
Nvidia graphics cards, connect the 16-pin (or 12-pin) adaptor.
Insert the power connectors into the opposite end of the adapter; these can range from two to as many as four connectors, based on whether you have something similar to the
RTX 5070
or perhaps something more high-end like the
RTX 5080
or
RTX 5090
.
5. Set up the drivers for your new graphics card
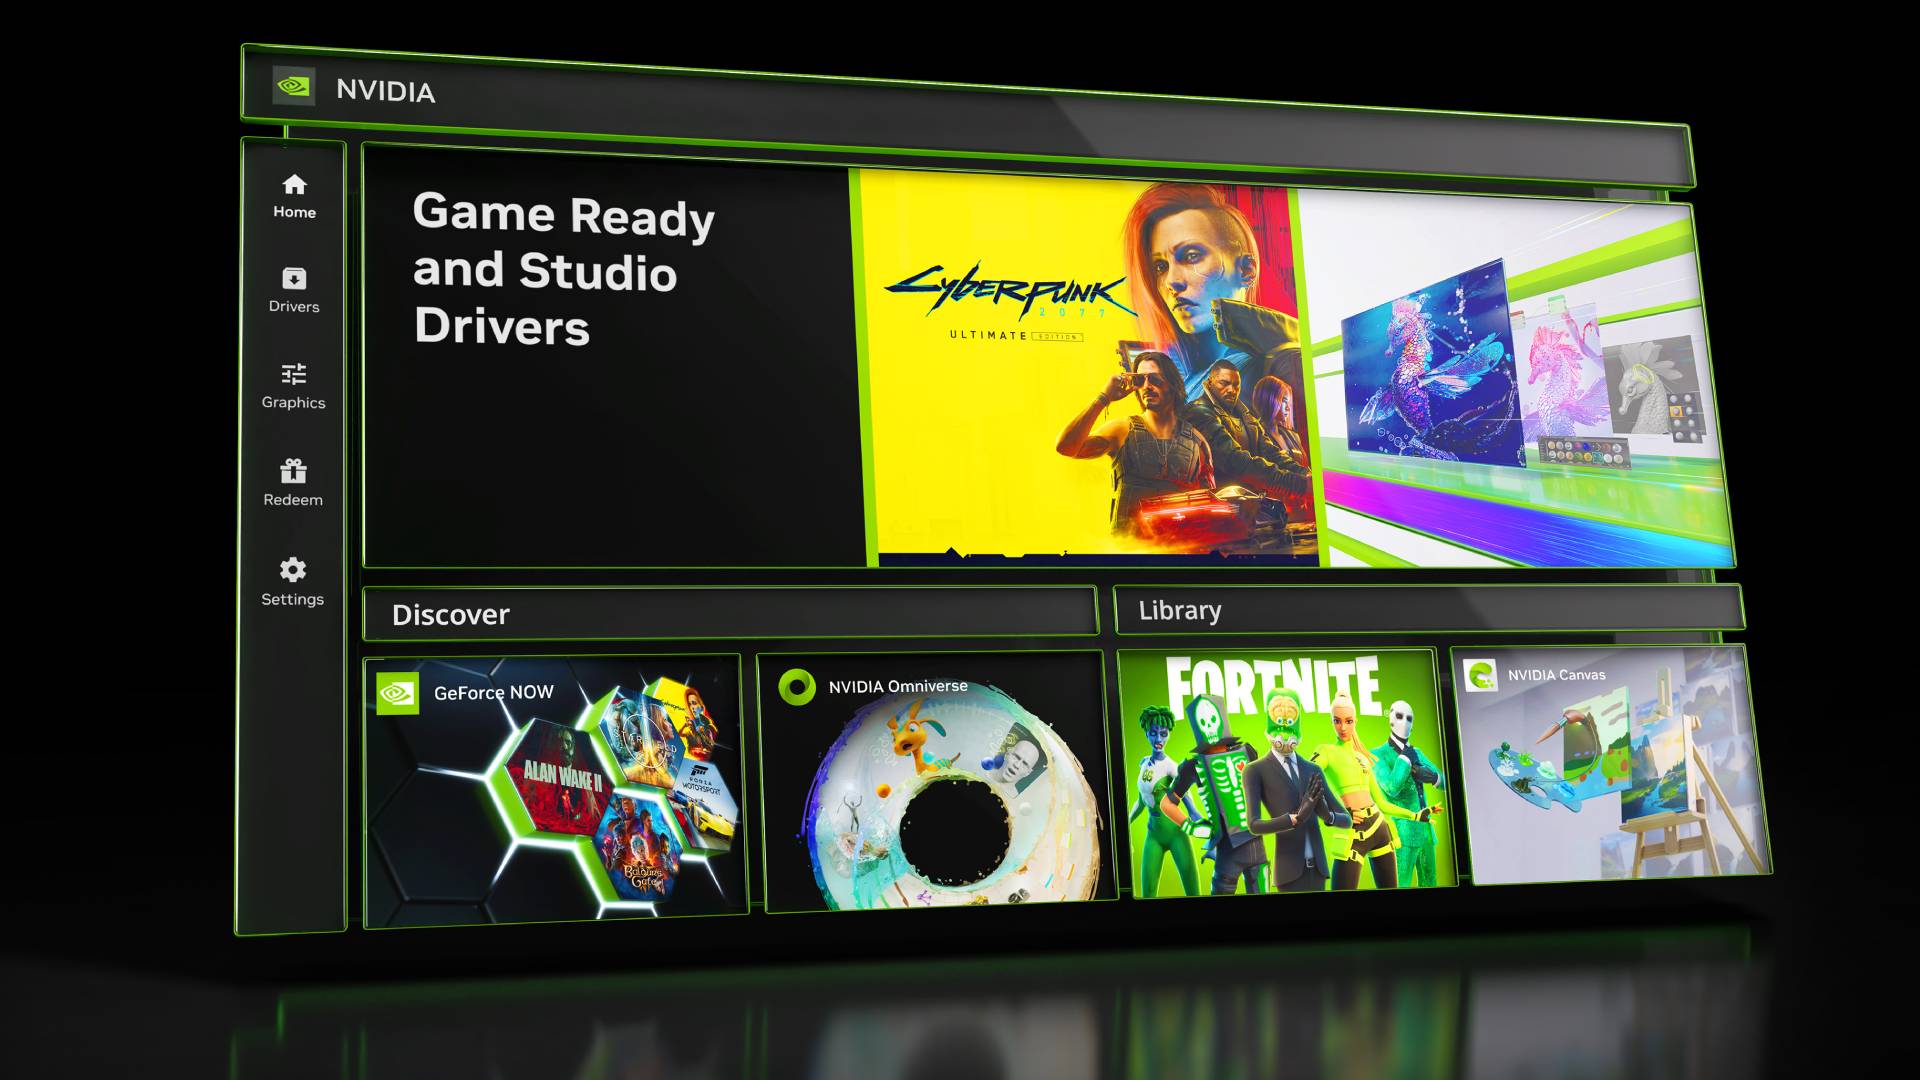
Once your new graphics card is securely installed and your computer has been turned back on, you’re all set to install the most recent drivers for optimal gaming performance. You have the option to download the specific
Nvidia app
,
AMD Software
, or the
Intel Graphics Software
hub, which will simplify the setup procedure.
As an alternative, you can look up your graphics card drivers directly on their official sites:
Nvidia drivers
,
AMD drivers
, and
Intel drivers
.
6. Check your enhanced graphics card

Here comes the enjoyable bit. Launch one of your favourite titles via platforms such as Steam, Epic Games Store, Ubisoft Connect, or GOG Galaxy. Numerous top-tier PC games come equipped with an integrated benchmarking feature accessible through their graphical settings; this helps gauge your enhanced average frames per second performance. Should you be planning to upgrade your resolution—say, moving from 1080p to 1440p, or even higher to 4K—you might consider enabling technologies like DLSS.
FSR
and
Frame Generation
to achieve the maximum level of performance possible.
Final thoughts
Upgrading the graphics card in your gaming computer is among the simpler yet crucial steps you can take to enhance your gaming performance. Although certain Graphics Processing Units (GPUs) might require additional power connections and adapters, the procedure of replacing them generally remains consistent over time. Exercise caution when planning further upgrades; ensure compatibility once you’ve installed one of these components.
best PSUs
required, since (as traditionally) the thermal design power is increasing with each generation, insufficient wattage might lead to your GPU not functioning as expected.
You may also like…
- What is Resizable BAR?
- Motherboard sizes explained
- What are PCIe lanes?
- What exactly is a Tensor Core?
If you enjoyed this article, click the +Follow button at the top of the page to stay updated with similar stories from MSN.